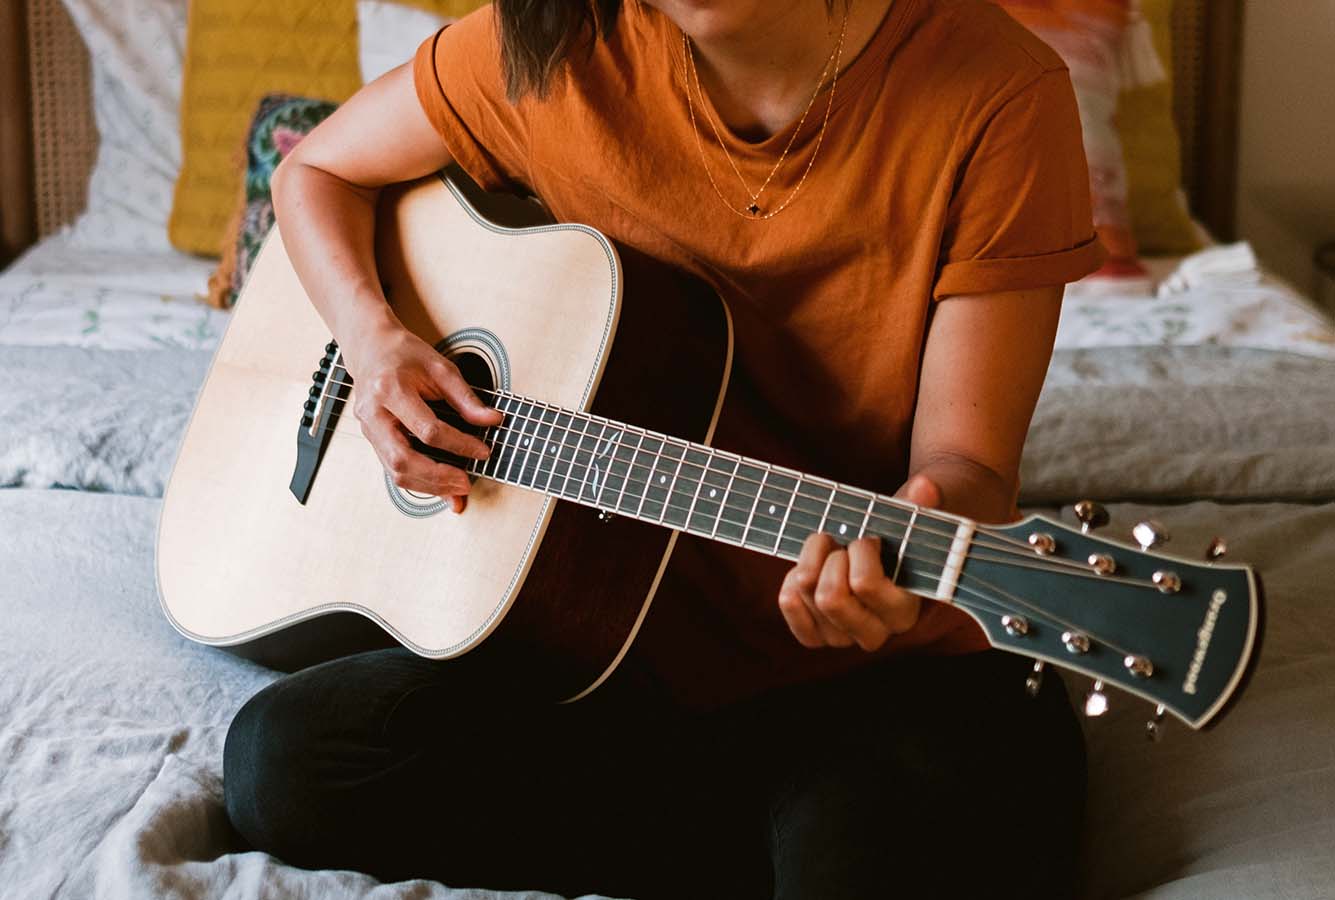
So you’ve written an amazing new song on your guitar, and now it’s time to share it... yikes!
We get it — recording your music can be intimidating. But whether you’re looking to grab a quick sound bite for social media, or produce a track for your next album, you’ll have to face the microphone eventually.
To help demystify the recording process, we sat down with guitarist, songwriter, and producer Ruben Wan to share some best practices for recording a guitar at home like a pro.
For Ruben, recording is all about efficiency, because “the longer you linger without recording your music, the more likely you're to put away your guitar and not post at all.”
So, here are some Ruben-certified ways to quickly and effectively elevate your home recording. All you’ll need is a microphone (or your phone), your favorite acoustic guitar (tuned to your liking, of course!), and a device to record into.
5 Easy Tips To Improve Your Home Recording
Optimize Your Room

Your microphone hears everything — including the room you’re in! Try to record in a quiet space without interference from roommates, family, or pets. And while you’ve likely learned to tune out the humming of your electronics, make sure noise-makers, like fans and cellphones, are muted before you start.
Now that your room is quiet, we suggest adding acoustic treatments to control sound reflections. A DIY room treatment can involve laying down a rug, hanging up sheets, or taping some inexpensive foam egg crate panels to your walls.
If you’re in a pinch, closets make for a great recording booth. Recording in a small closet helps isolate the sound of your guitar. And, thanks to the clothes hung up, unwanted reflections are absorbed.
All said, don’t stress too much about perfecting the space. Ruben himself has no “real” sound treatment beyond a carpet. He believes the unique sonic atmosphere of any room provides a unique character to a track. His advice?
“Don’t get so hyped about perfecting the space — just get recording!”
Arrange Your Mics
The placement of your microphone (both in terms of where it’s pointing and how far it is from your guitar) can have a major impact on how your recording sounds.
Ruben likes to angle his microphone at the 12th fret to capture a sound that’s balanced between bass and treble.

For a heavier sound, angle the microphone closer to the soundhole. For something brighter, move it further down the neck. And if you’re looking to capture overtones, try aiming your mic at the top fret.
(Pro social media tip: If you’re recording with the algorithm in mind, Ruben has noticed treble tends to capture more attention. Do with that what you will — we won’t judge!)
The proximity of the microphone to the guitar impacts sound quality as well. The closer the microphone is to the guitar, the fuller your sound will be.
Keep in mind that the “right sound” is really a matter of preference. We encourage you to experiment to find what sounds right to you.
No Mics? Use Your Phone!
You don’t need access to studio-quality technology to record your guitar — just a cell phone.
To record on your phone, start by locating the microphone and pointing it towards the 12th fret. You can record via video or with a voice memo.
We recommend recording multiple takes with your phone in multiple positions. If you record with a metronome in your ear, you can mix these different takes when editing. Also, be sure to write down or take pictures of the setup. This will help you identify the best arrangements for future sessions.
Avoid These Rookie Mistakes
Skip the learning curve by avoiding these common mistakes:
DON’T let your clothes brush against the guitar while recording. Again, the microphone hears all, and any shift in your form might create unwanted noise. You can avoid this by extending the guitar away from your body. It’s uncomfortable, but it’ll help your recording sound much cleaner.
DON’T slide too loudly. That scratchy noise you make when your fingers slide along steel strings is inevitable, and sometimes desirable when attempting to achieve that raw acoustic sound. Still, try to make sure it isn’t louder than your actual guitar playing.
DO record multiple takes. You’ll thank yourself later for creating options to choose from in editing. It’s never fun to have to circle back to recording because you realize a distant microwave beep made its way into your song.
Try These Easy Editing Tricks
Now that your track is recorded, you’re ready to edit. Import your track into your DAW of choice. Some great free options for this include GarageBand (Mac) and Audacity, but you might prefer programs like Logic Pro.
Wherever you edit, you’ll be able to apply these two effects:
Doubling: Ruben recommends doubling your main track. In practice, this means that you stack a copy of your track directly on top of your track. Then, nudge the track copy ever so slightly off from the timing of the original. The use of doubling creates a pleasant chorus effect.
Reverb: Ruben also loves a “lush” track, and will add a little reverb to his music. This effect helps create atmospheric texture.
What Are You Waiting For? Hit Record!
Ruben’s streamlined and informed setup allows him to create some amazing music, like this song he recorded on his Echo 12 Live.
We hope that by sharing his approach to recording, you’ll feel more empowered to get recording and share your music with the world.
Always remember: the true secret to recording guitar music is to just do it. After all, most of your tone will come from your fingers — not your mic.
We’d love to hear the recording you make! Tag Orangewood (@OrangewoodGuitars) on Instagram or on TikTok with the #orangewoodguitars and you could be featured in our #OrangewoodFriends weekly spotlight!


