


You did it. You ordered your Orangewood guitar. Take a deep breath.
All that’s left is counting down the days until the unboxing, until you meet your new guitar, until you can play it and — yeah, we get pretty carried away by new guitar days, too.
Meanwhile at the Orangewood HQ in Los Angeles, our team of professional guitar technicians start setting up your guitar before its shipping label ever gets printed. But what’s a guitar setup? Tag along as we get an Orangewood ready for its first and most important gig: meeting you!
Benchside Manner

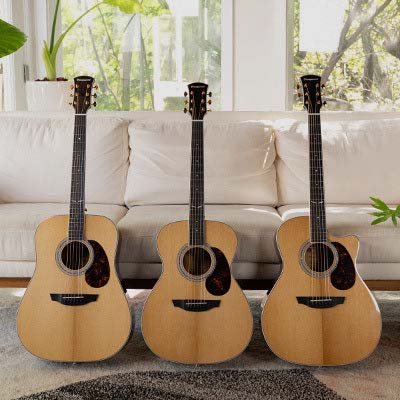
An Orangewood tech sets up a Sage Torrefied Spruce
Before any Orangewood ships, it goes through our quality control process. If it passes, it goes back in its box until it’s called upon to fill an order from a customer like you. This is when the guitar setup begins!
But why is a guitar setup important in the first place?
A setup is the special set of steps that involve checking measurements, making adjustments, and playtesting a guitar. We do this to give the guitars a certain feel or playability. Playability refers to how easy a guitar is to play.
Without a setup, a guitar might be uncomfortable to play or even completely unplayable. Guitarists often have this problem no matter whether their guitar is store-bought or ordered online. It especially discourages beginners, who might blame themselves for the poor performance of a poorly set up guitar.
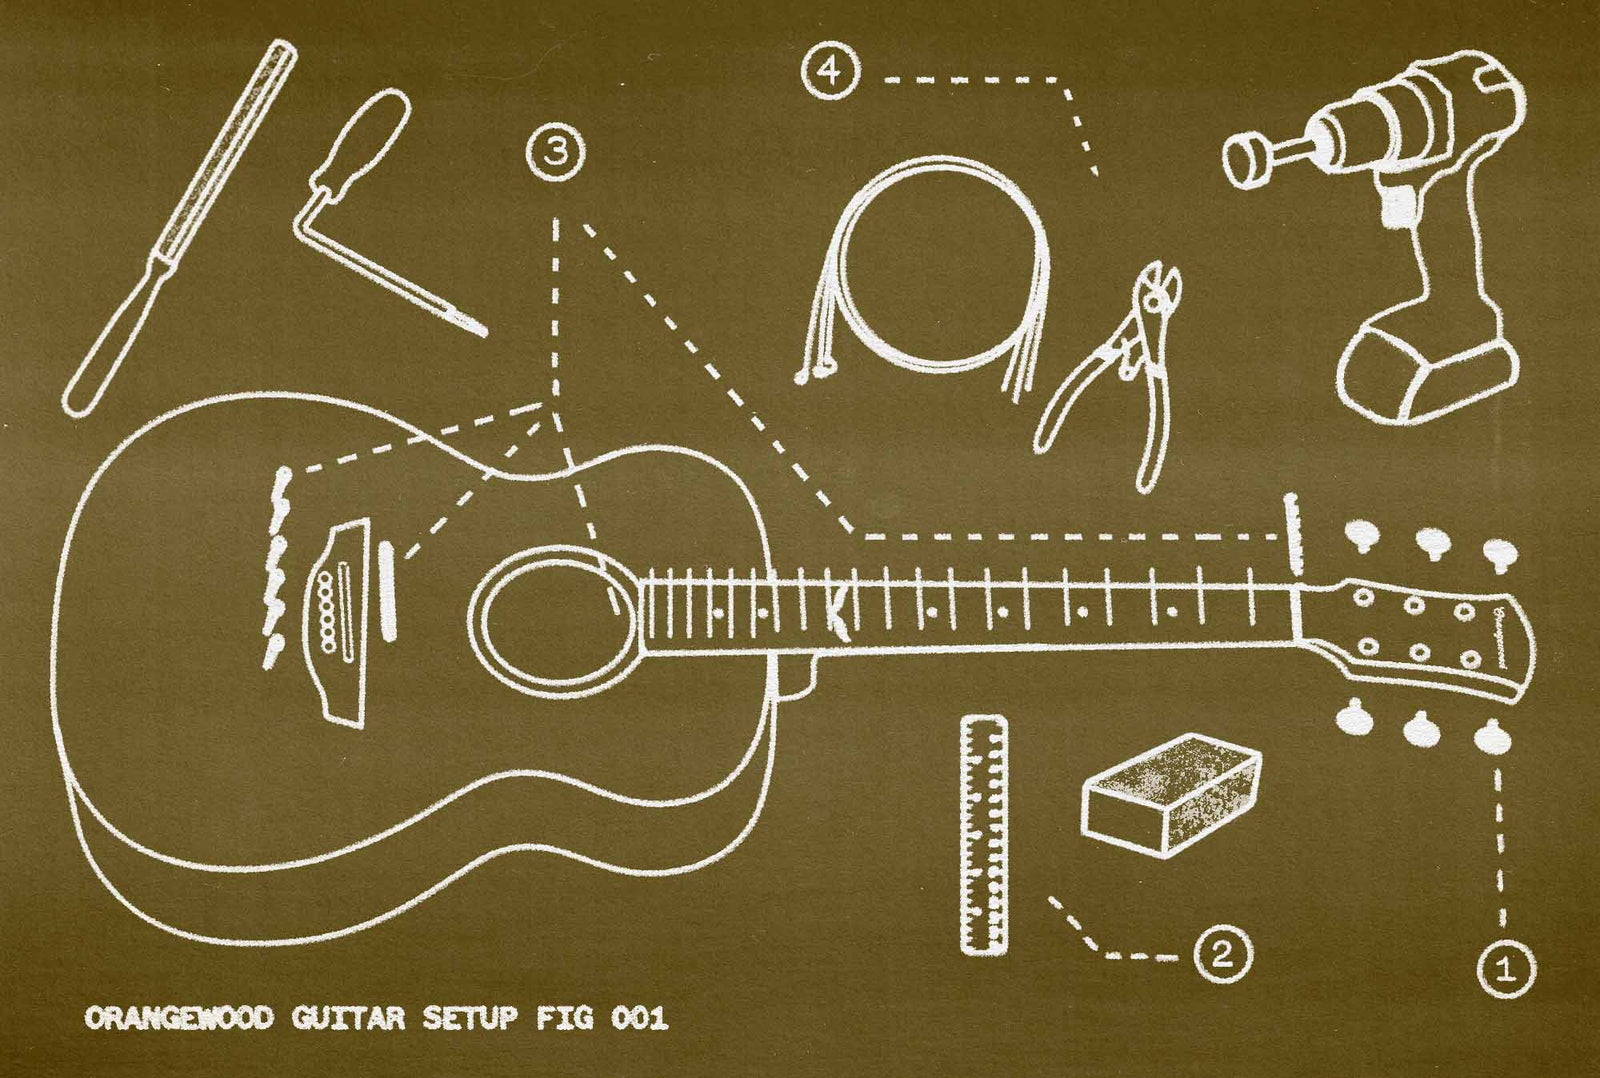
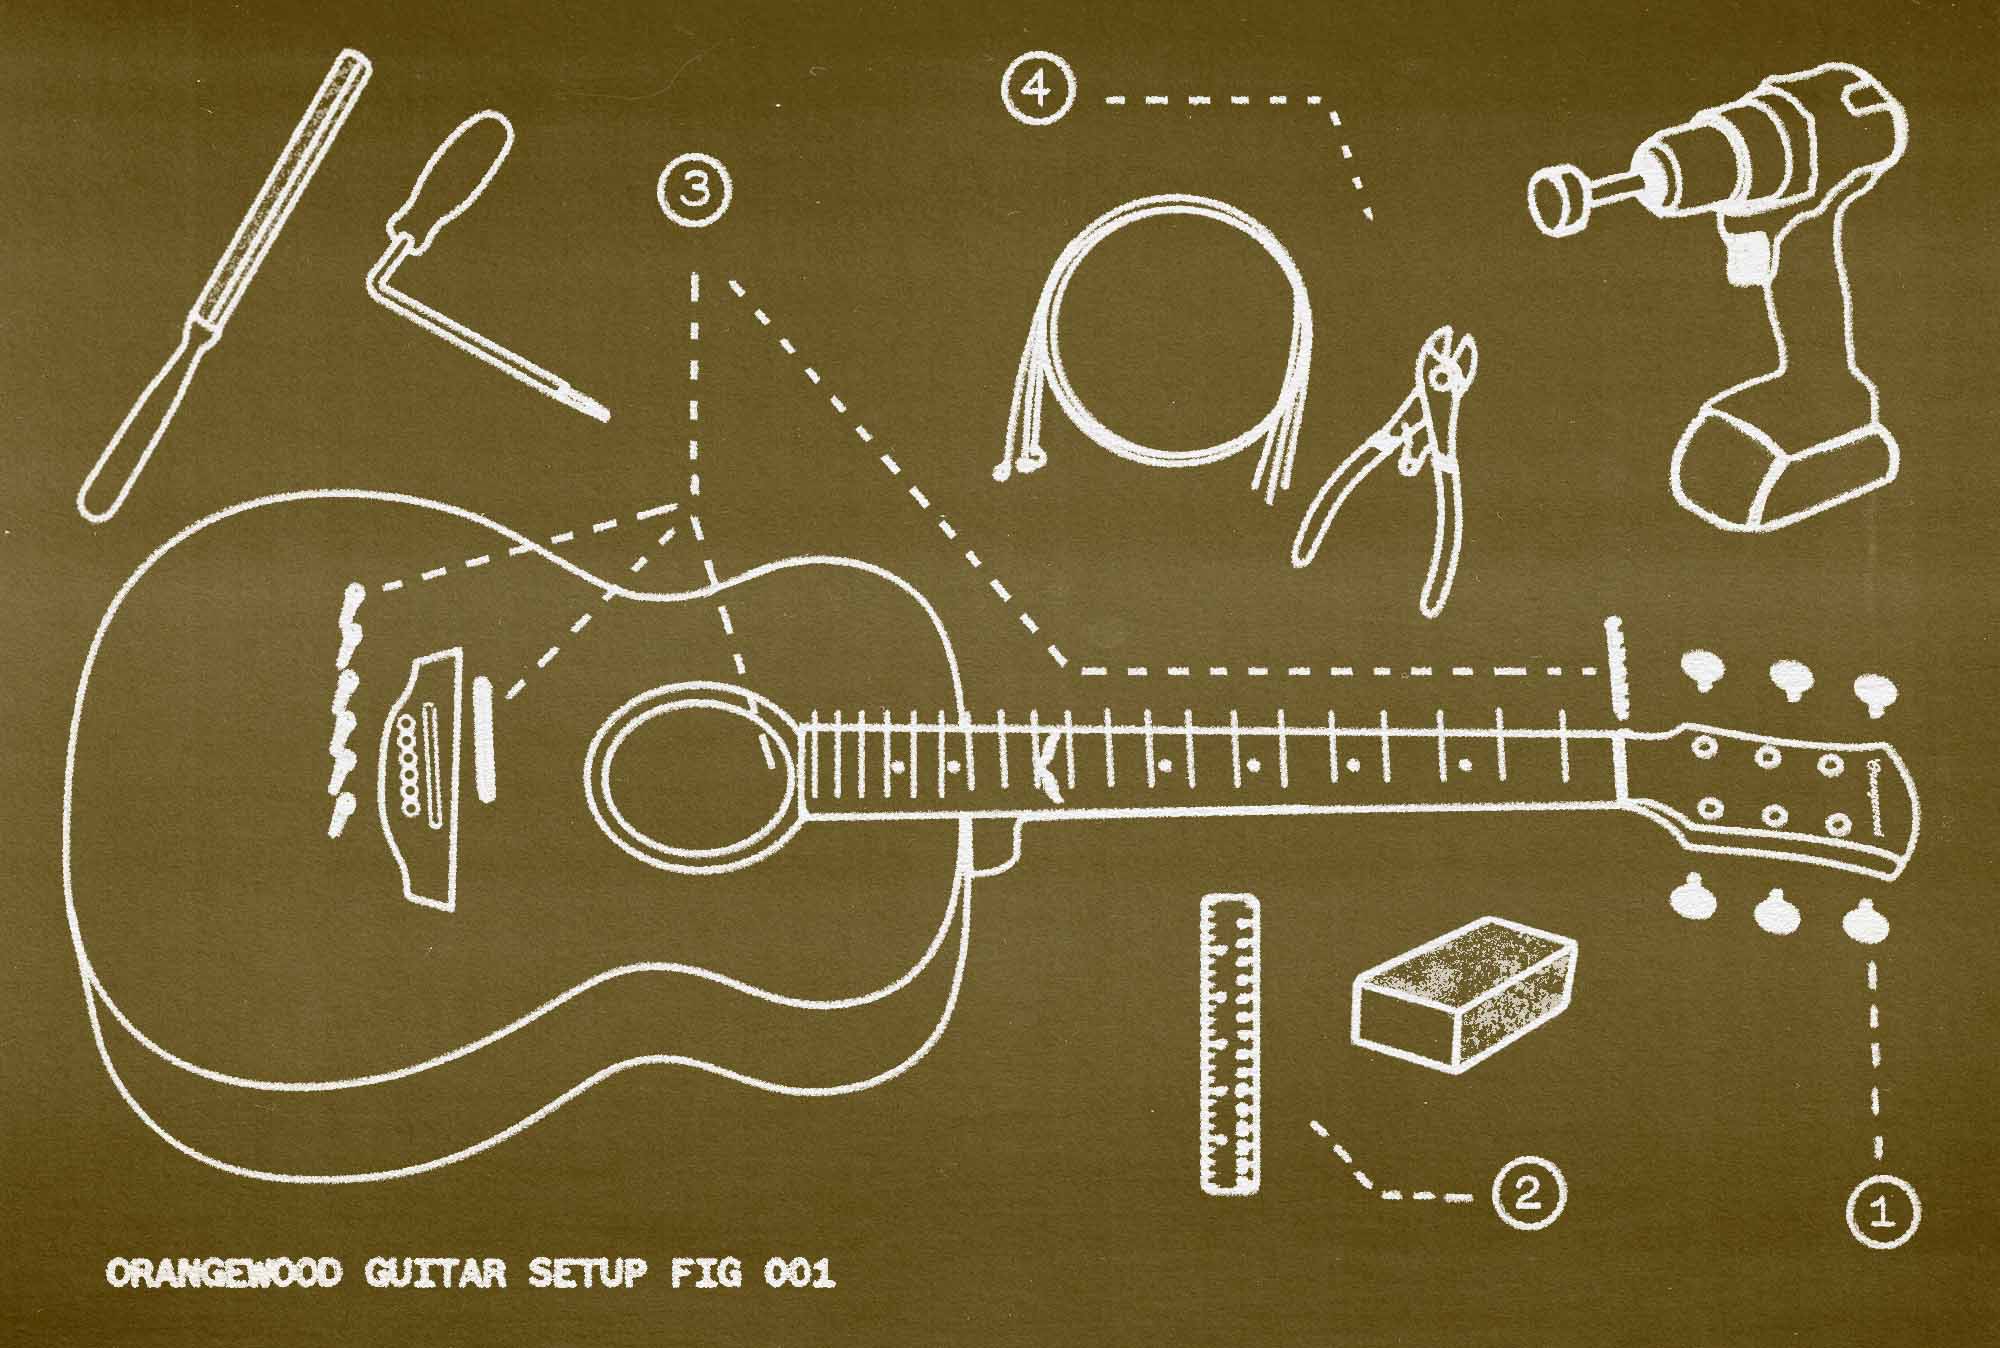
Learn the Orangewood Setup Process
Step 1: Tuning
What: Tune the guitar to the correct pitch (A - 440hz).
Why: We want to know how the guitar “settles” when the strings are fully tuned. This is our starting point for measuring and adjusting setup.
Step 2: Check Measurements
What: Measure the action of the low E and high E strings at the 12th fret as well as the amount of neck relief.
Why: String action and neck relief have the biggest effect on playability. “Action” refers to the distance from the top of a fret to the bottom of a string. “Relief” refers to the amount of curve — also called “bowing” — in the neck.

Using a ruler to measure the action of the high E string.
Step 3: Make Adjustments
What: Depending on the measurements taken in Step 2, lower or raise the action and neck relief as needed by adjusting the truss rod.
Why: Guitars don’t adjust themselves… yet.

Adjusting the truss rod.
Step 4: Playtest
What: Play up and down the entire neck, trying out strumming, flatpicking, and fingerpicking. Note any issues with playability and sound.
Why: Human touch is always the final judge of a good setup — which is why we have a dedicated team of professional technicians, who’re also musicians, set up each and every Orangewood.
At this point, our technicians repeat Steps 2 through 4 one more time. On their second pass, however, they’ll adjust the action by filing the nut or, failing that, adjusting the saddle height.
Setup Snapshots: Neck Relief, Nut, and Saddle
Sometimes, to really dial in a set up, our technicians have to give special attention to a few areas. These are the neck relief, the nut, and the saddle. (Check out our article if you need a refresher on guitar anatomy.)
Neck Relief: Our technicians use a tap test as well as rulers to gauge neck relief. The goal is to lower the neck relief as much as possible without causing buzzing. They test for buzzing by playing chords at the nut or first fret.
Nut: Our nuts are pre-cut blanks, meaning they already have the overall shape and fit. We refine them by filing the slots as needed to keep the string height as low as possible.
Saddle Height: After adjusting the nut, we either shave down or shim the saddle to achieve the desired height. On acoustic-electric guitars we make sure to perfectly flatten the bottom of the saddle to make full contact with the piezo bridge pickup.

How Often Should I Get My Guitar Set Up?
Every 6–12 months, depending on how often you play.
Besides how much you play, humidity and temperature can change your guitar over time. Getting your guitar regularly set up keeps it properly positioned, tuned, and playable year-round, for years to come.
Although you may want our pros to set up your Orangewood guitar again when the time comes, you can actually take your guitar to any qualified guitar technician or luthier near you.
Personalizing Your Acoustic Guitar Setup
No guitar is one-size-fits-all and neither is any setup. If you prefer to set up your guitar differently than our standard guitar set up, we encourage you to personalize it.
Defining your ideal setup may involve a lot of trial-and-error as you measure, adjust, and test everything from string gauge to action. Your setup preferences will likely change from guitar to guitar.
If you’re a beginner, the best place to start practicing your setup skills is by learning how to change your strings. Changing your strings is an essential skill for any guitarist, even if you don’t plan to mess with the rest of your setup.
For the adventurous, ask questions like “Do my strings feel too high, too low, or just right,” “do I often play in alternate tunings that give my guitar problems,” or “do I want my acoustic guitar to feel more like an electric guitar?” You can test out different answers to these questions.
Remember: write down your setup measurements once you’ve dialed them in!
The Finishing Touch
We’ve taken you from final assembly to finally playable. While this isn’t meant to be a guide on how to set up your Orangewood at home, you now have a better idea of the work that goes into your guitar before you unbox it. We believe that magical moment is worth the effort.
No Orangewood falls far from the tree. To stay in touch and to get more behind-the-scenes looks at what we’re up to, follow us on Instagram, Facebook, YouTube, or TikTok!